Plasma cutters promise clean, fast metal cuts—but too many users end up with dross, warping, or ruined workpieces. Frustration mounts when the torch sputters or the cut wanders off course. The truth? Most failures trace back to avoidable setup mistakes, not the machine itself. Here’s how to get professional results—every time.
Why Most Plasma Cuts Fail (Even With Expensive Gear)
It’s not the tool. It’s the approach. Beginners often crank up amperage thinking “more power = cleaner cut.” That’s backwards. Excess current melts the edge instead of severing it cleanly—creating slag buildup and heat distortion. And air quality? Many skip filtration, not realizing moisture or oil in the airline causes erratic arcs and premature consumable wear. You’re not cutting metal—you’re fighting physics with poor prep.
Step-by-Step Guide to Precision Plasma Cutting
Select the Right Amperage & Speed
Match amperage to material thickness—don’t guess. A 20A machine struggles on 3/8″ steel; a 60A unit wastes energy on 16-gauge sheet. Use manufacturer charts as a baseline, then adjust. Cut speed matters just as much: too slow = melted edges; too fast = incomplete cuts. Listen to the arc—it should hiss steadily, not crackle or stutter.
Prep Your Work Surface Like a Pro
Clean metal is non-negotiable. Remove paint, rust, oil, or mill scale from the cut path. Even a thin layer disrupts conductivity and destabilizes the arc. Clamp the workpiece firmly to a grounded metal table—floating sheets cause erratic grounding and poor cut quality. And never cut over concrete; molten metal can explode on contact with moisture.
Air Supply & Consumables Maintenance
Dry, oil-free compressed air isn’t optional. Install an inline filter-regulator-lubricator (FRL) unit—yes, even if your compressor claims “clean air.” Check nozzles and electrodes weekly. A worn nozzle distorts the plasma jet, causing beveled or rough cuts. Replace them in pairs; mismatched consumables accelerate failure.
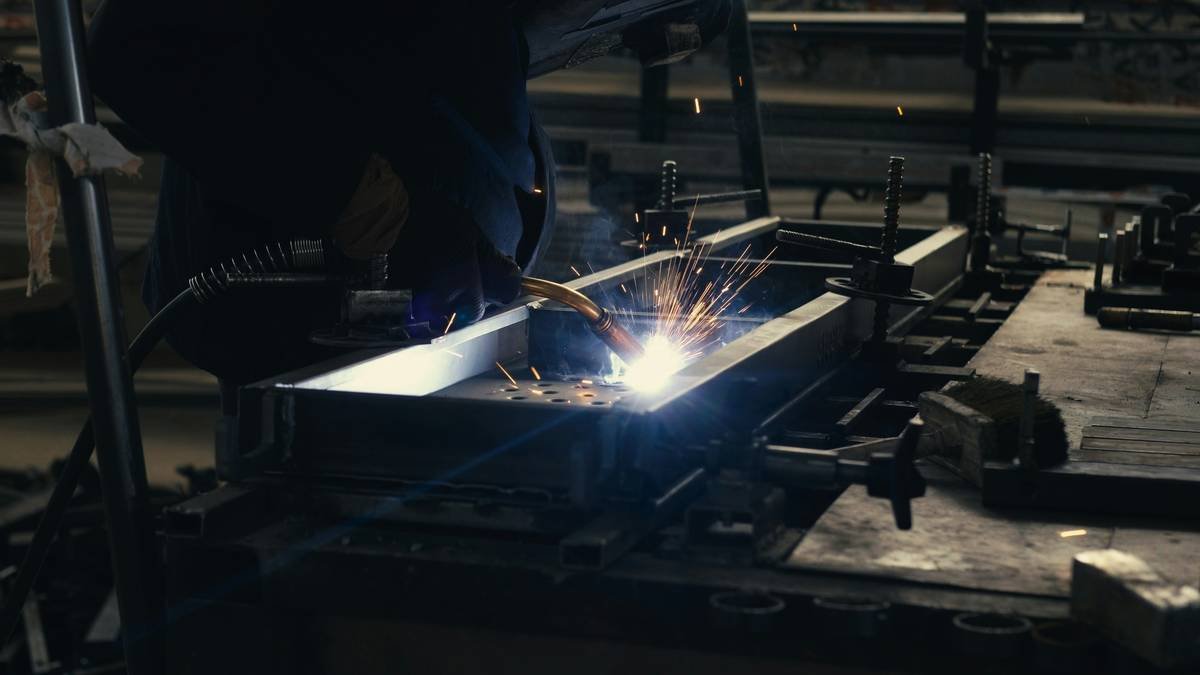
| Material Thickness | Recommended Amperage | Ideal Travel Speed (IPM) | Air Pressure (PSI) |
|---|---|---|---|
| 16-gauge (0.06″) | 20–25A | 120–150 | 90–100 |
| 1/4″ | 30–40A | 80–100 | 95–105 |
| 3/8″ | 50–60A | 50–70 | 100–110 |
| 1/2″ | 70–80A | 30–45 | 105–115 |
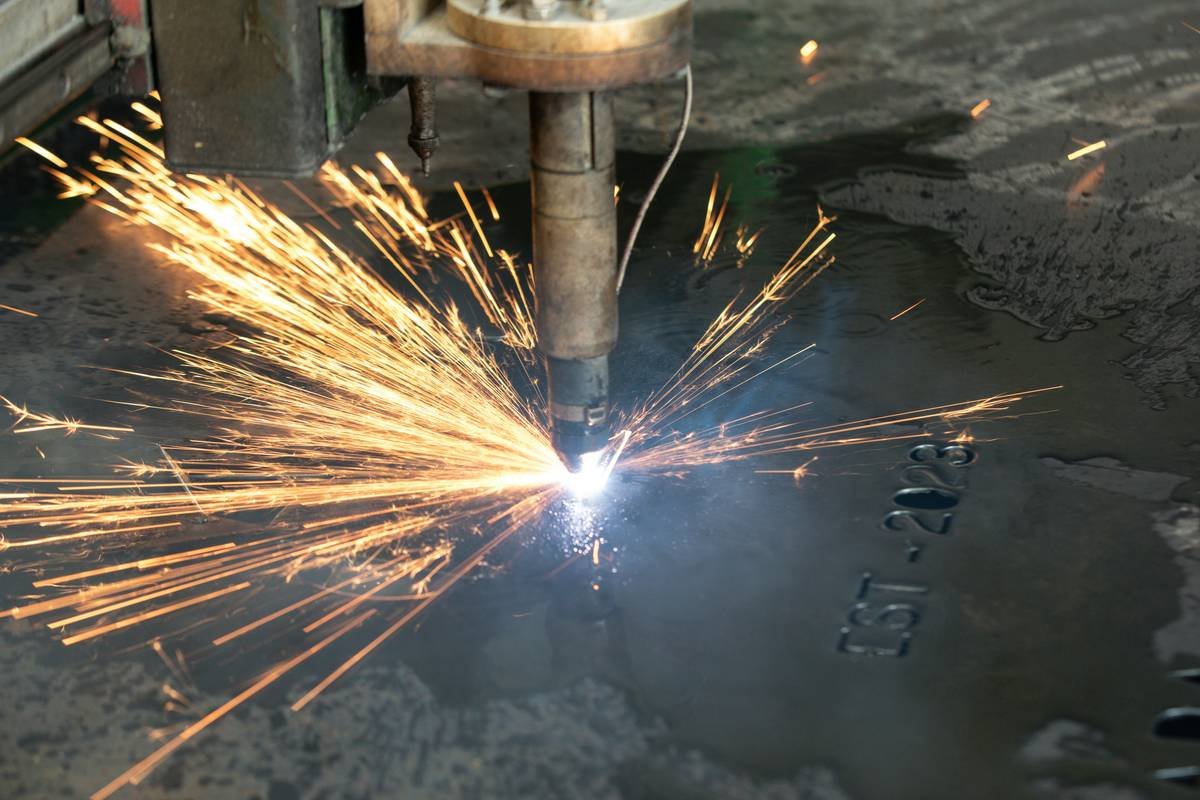
The Industry Secret No One Talks About: The Drag Cup Hack
Most manuals say “maintain standoff distance.” But here’s what shops actually do: they use a drag shield and slide the torch directly on the metal. Why? It stabilizes the cut path, reduces angularity, and eliminates wobble—even for beginners. And contrary to myth, it doesn’t shorten consumable life if you keep the cup clean. In fact, it improves cut squareness by forcing consistent nozzle-to-work distance. Try it on your next job—you’ll wonder why you ever free-handed.
Frequently Asked Questions
Can you use a plasma cutter on stainless steel or aluminum?
Yes—plasma cuts any conductive metal. Just ensure your air supply is dry; moisture causes oxidation on stainless and porosity on aluminum.
Why is my cut beveled instead of square?
Usually due to worn nozzles, incorrect speed, or excessive standoff. A drag cup fixes 80% of bevel issues instantly.
Do I need a special ground clamp?
Not special—but it must be clean, tight, and connected directly to the workpiece. Poor grounding causes erratic arcs and failed starts.