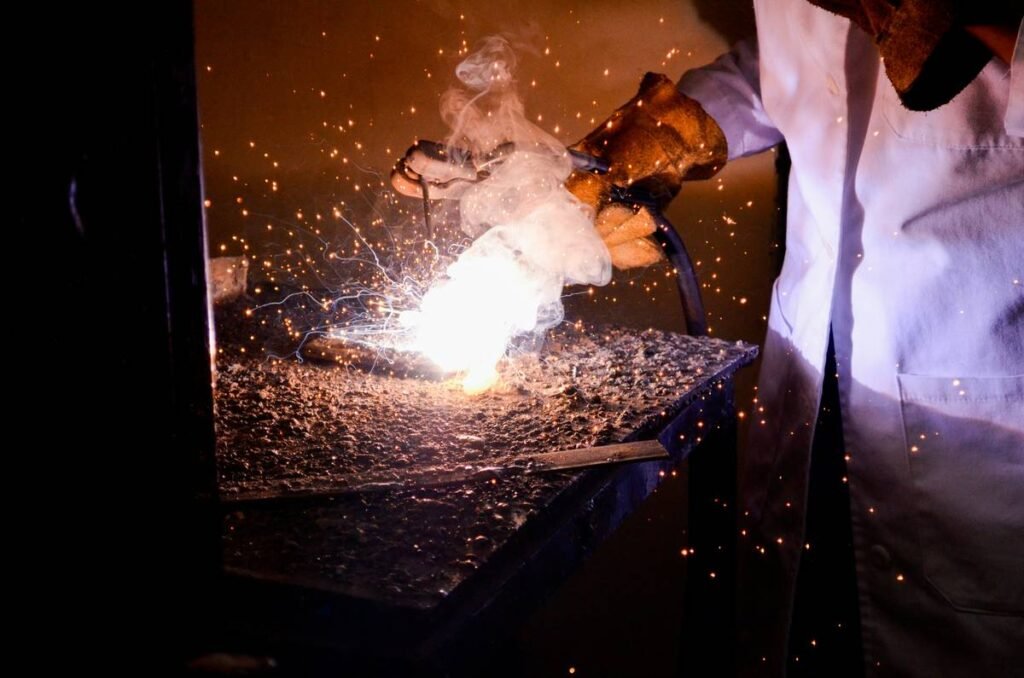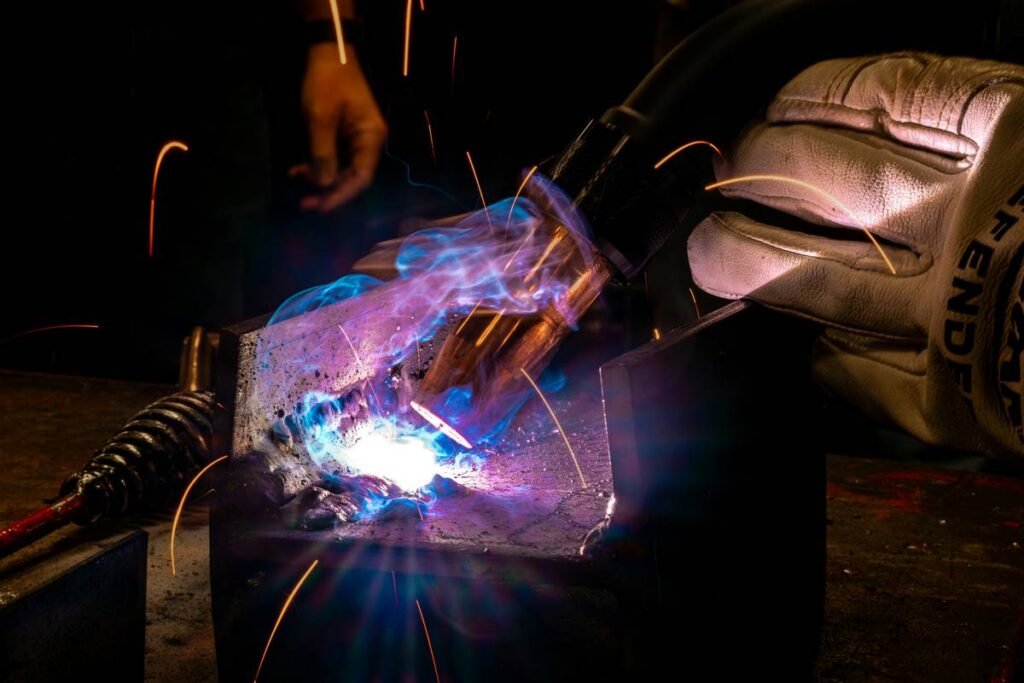
You bought a plasma cutter. You’re fired up. But your first cut looks like a toddler scribbled with a blowtorch. Jagged edges. Warped metal. Wasted material. And that “simple” star pattern? It’s now a melted asterisk. The problem isn’t you—it’s that nobody tells beginners how to translate enthusiasm into precision. Here’s your fix: structured plasma cutting patterns for beginners that actually work on real-world DIY projects.
Why Most Beginner Plasma Cuts Fail (Even With Good Gear)
New users treat the plasma torch like a magic wand. Point. Click. Perfect shape. Reality check: plasma cutting is part physics, part rhythm. And most free “beginner patterns” online are either too complex or missing critical tolerances—especially kerf width (the actual material vaporized during the cut). Ignore that, and your interlocking shelf brackets won’t interlock. They’ll just… wobble.
And don’t blame your machine. Even mid-range units from Hypertherm or YesWelder deliver clean cuts—if you respect feed speed and standoff distance. But tutorials skip these nuances. They show glossy results without revealing the test cuts, the sacrificial steel, the ruined Saturday mornings.
Plasma Cutting Patterns for Beginners: Your No-BS Starter System
Forget downloading 50 random SVGs. Build competence in layers. Start dumb simple. Master control before complexity.
Step 1: Choose the Right Metal Thickness
For true beginners, stick to 14–18 gauge mild steel. Thicker stock demands more amperage and steady hands. Thinner? It warps faster than cheap plywood in rain. This range gives forgiving feedback without punishing minor speed variations.
Step 2: Dial In Your Torch Settings
Check your manual—but as a rule: 45 amps for 16-gauge at ~15 IPM (inches per minute). Use drag tips if available—they auto-maintain standoff. No guesswork. No tilting. Just glide.
Step 3: Practice These Foundational Patterns
Don’t jump to dragons or logos. Cut these three shapes until they’re identical every time:

- Square with internal corner relief—teaches straight lines + inside corners (where beginners melt through)
- Circle with center pilot hole—builds smooth arc control
- Interlocking tab/slot pair—forces accuracy for real assembly
| Pattern Type | Material Waste | Difficulty | Real-World Use |
|---|---|---|---|
| Freehand sketch tracing | High (30%+) | Hard | Nearly none—avoid early on |
| Printed template + center punch guides | Medium (15%) | Easy | Signs, brackets, custom brackets |
| CNC-ready DXF (manual follow) | Low (5–8%) | Moderate | Repeatable parts for furniture or enclosures |
Step 4: Secure, Don’t Clamp Blindly
Magnetic clamps near the cut path? Bad idea—they disrupt arc stability. Use non-ferrous stops or bolt-down points outside the work zone. Vibration kills edge quality faster than low air pressure.
The Industry Secret: Pattern Complexity ≠ Skill Level
Here’s what pro fabricators won’t advertise: their “signature” designs often start as modified beginner patterns. That ornate garden trellis? Built from repeated L-brackets and slotted circles—just scaled and arrayed. The secret isn’t intricate artwork. It’s dimensional consistency. A novice who cuts ten identical 2-inch squares is closer to pro status than someone who hacks out one “cool” but unusable skull logo. Master tolerance stacking early. Your future self—and your MIG welder—will thank you.
Frequently Asked Questions
Can I use paper templates directly under the plasma arc?
No. The heat will ignite paper instantly. Trace onto metal with soapstone or use high-temp layout dye. For reusable guides, laminate prints or use thin aluminum templates.
What air compressor specs do I really need?
At minimum: 6 CFM at 90 PSI, oil-free, with a moisture trap. Undersized compressors cause sputtering cuts—your #1 source of ragged edges on basic plasma cutting patterns for beginners.
Are plasma-cut edges ready to weld right away?
Not usually. They leave a thin oxide layer. Grind lightly or use stainless wire brush before welding. Skipping this causes porosity—even on clean-looking cuts.