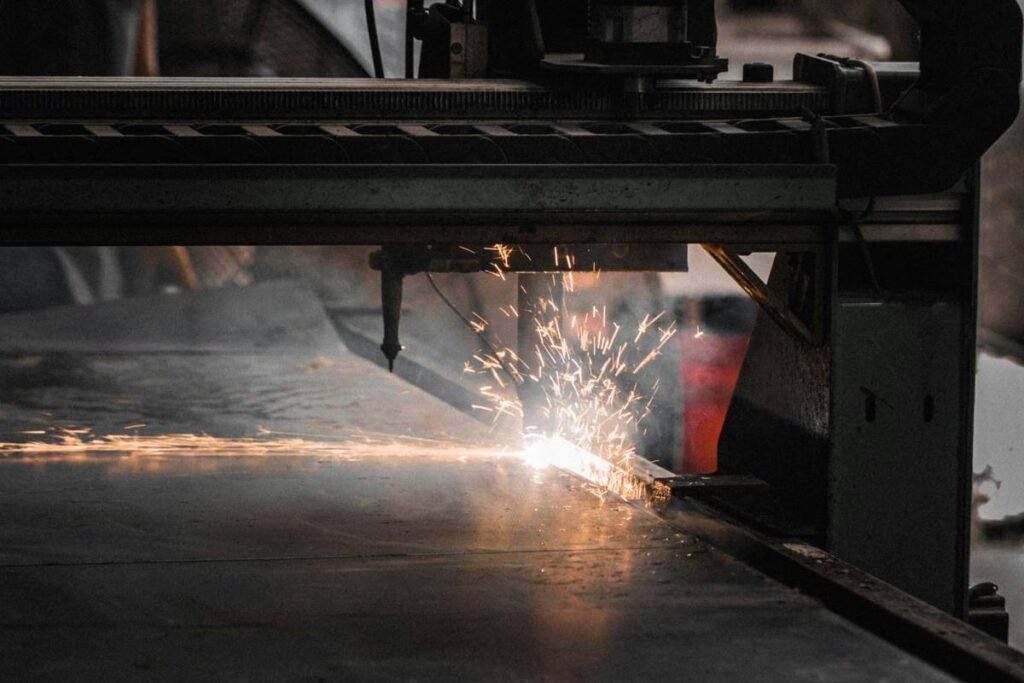
You fire up your plasma cutter—only to get jagged edges, inconsistent arcs, or burnt consumables by lunchtime. It’s not your machine. It’s not even your material. Most operators miss the subtle variables that make or break a clean cut. The fix? Precision control hidden in plain sight. These plasma cutter tips and tricks turn erratic sparks into surgical steel slices.
Why Your Plasma Cuts Keep Failing (Even With a Premium Machine)
Most DIYers and even seasoned fabricators treat plasma cutting like “point and shoot.” Hook up air, pull the trigger, and expect magic. Reality check: a 0.5-inch plate won’t forgive sloppy setup. Poor grounding, incorrect amperage, or worn nozzles sabotage cuts before metal even heats up.
And airflow matters more than you think—contaminated or unregulated air introduces moisture and oil that destabilize the arc. You’re not just cutting metal—you’re managing thermodynamics, gas dynamics, and electrical flow simultaneously. Miss one variable? Hello, dross and bevels.
Plasma Cutter Tips and Tricks: A Step-by-Step Field Guide
Forget generic manuals. Here’s how top-tier shops actually run their torches:
Pre-Cut Checklist: Grounding Isn’t Optional
Your workpiece must have a direct, clean ground connection—no paint, rust, or grease under the clamp. A weak ground forces the arc to hunt, causing erratic cuts and premature electrode wear. Sand it. Bolt it. Verify continuity with a multimeter.
Nozzle-to-Work Distance: Millimeters Make Millions
Hold the torch too high? You widen the kerf and lose squareness. Too low? Spatter welds your nozzle shut mid-cut. For most handheld systems, 1/8 inch (3mm) is the sweet spot. Use the drag shield—but only if it’s undamaged. Cracked shields leak gas and skew angles.
Air Pressure: Less Is Often More
Overpressurizing seems logical—more force, cleaner cut, right? Wrong. Excess pressure cools the arc prematurely. Set PSI per manufacturer specs, then dial back 5–10% for thin gauge (<1/4″). The quieter hiss usually means better precision.
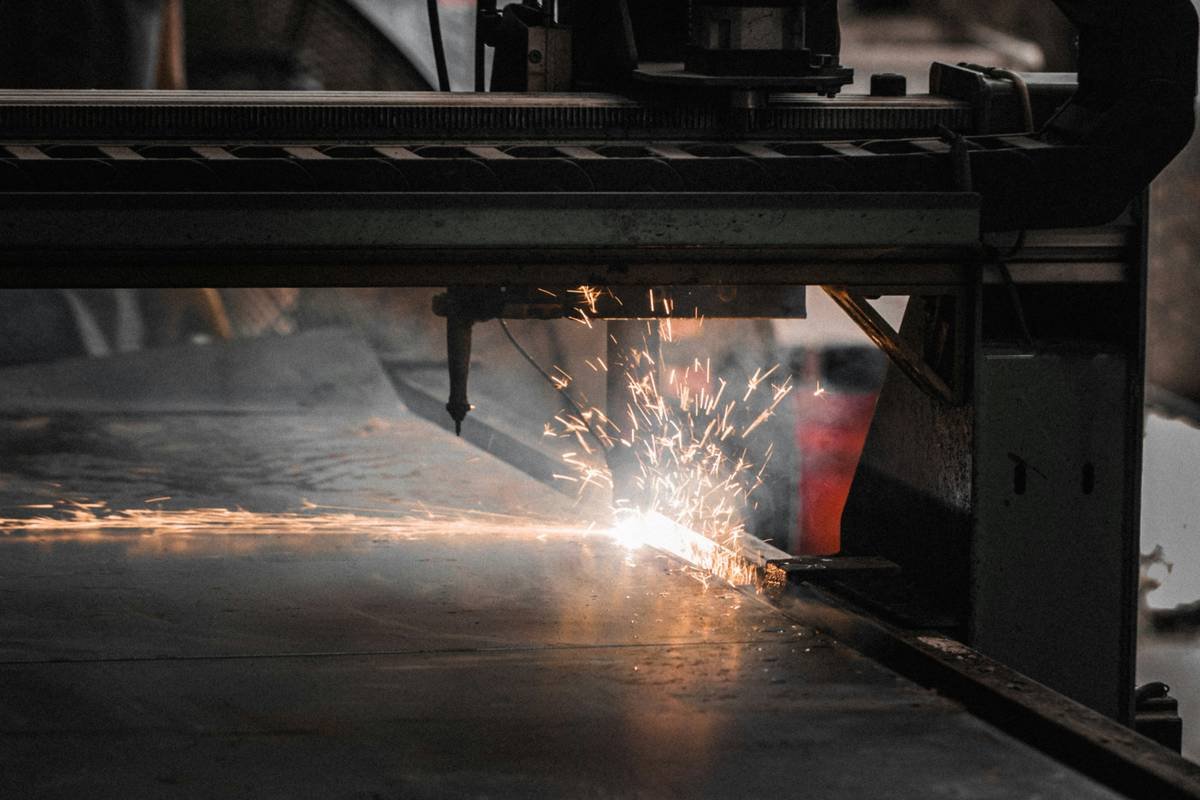
| Metal Thickness | Recommended Amps | Ideal Air PSI | Cutting Speed (IPM) | Common Mistake |
|---|---|---|---|---|
| 16 ga – 1/8″ | 20–30A | 60–70 PSI | 80–120 | Too slow = warping |
| 1/4″ – 3/8″ | 40–55A | 70–90 PSI | 40–70 | Excessive standoff |
| 1/2″ – 3/4″ | 65–85A | 90–110 PSI | 15–30 | Dirty air filter |
The Industry Secret: Pulse Cutting on a Budget Torch
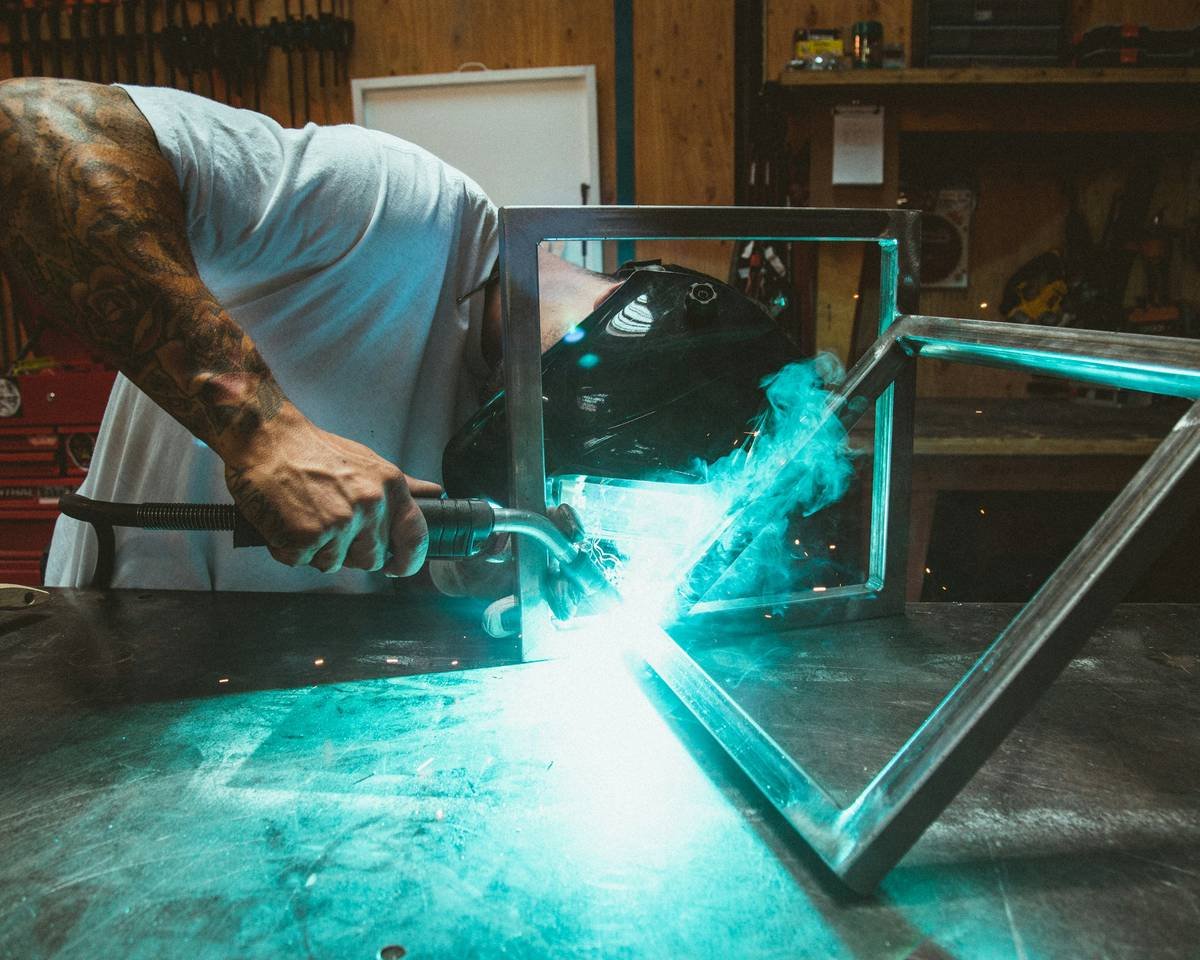
High-end CNC tables use pulse cutting—rapid on/off arcs—to reduce heat input and refine edge quality. But here’s the hack: you can mimic it manually on any inverter-based plasma cutter. Instead of dragging continuously, use short, controlled bursts—especially on corners or thin metal. Feather the trigger like a spray gun.
It feels unnatural at first. But after ten practice cuts? You’ll see dramatically less warping and near-zero dross on stainless under 1/4″. Shops don’t advertise this because it “slows you down.” Truth? You save time avoiding rework.
FAQ
How often should I replace plasma cutter consumables?
Replace nozzles and electrodes every 8–15 hours of cutting time—or immediately if you notice double-arcing, wide kerfs, or difficulty initiating arcs.
Can I use a plasma cutter on rusty or painted metal?
Technically yes—but contaminants shorten consumable life and degrade cut quality. For best results, grind off rust/paint in the cut path. Your nozzle will thank you.
Why does my plasma cutter keep tripping the breaker?
Likely causes: undersized extension cords, voltage drop, or drawing amps beyond your circuit capacity. Always plug directly into a 240V outlet rated for your machine’s max draw.