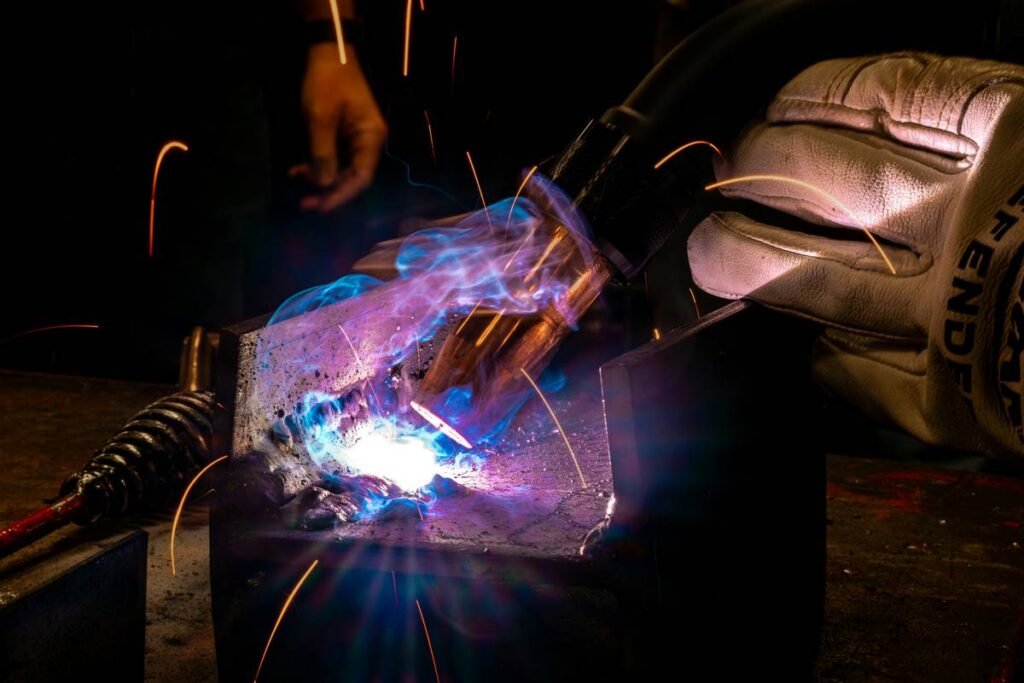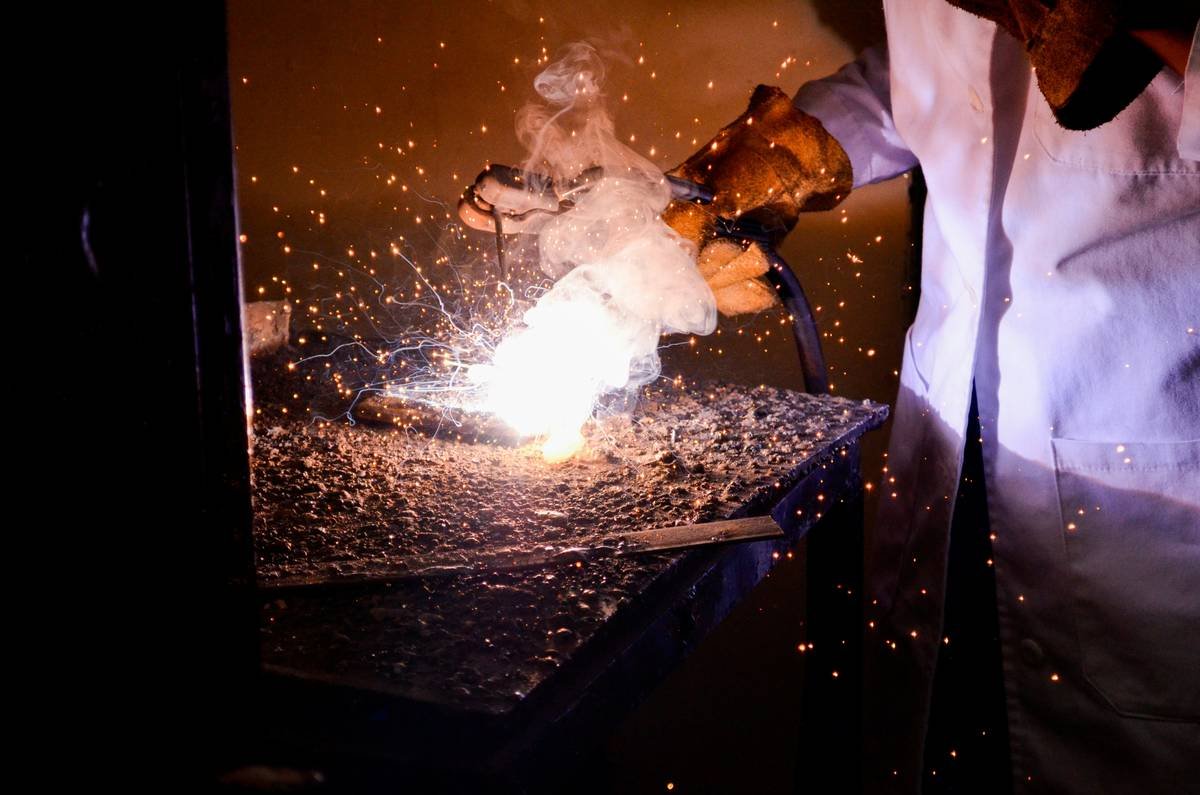
Ever tried slicing through 1/2-inch steel with an angle grinder and ended up with more sparks than progress—and a forearm that looks like it lost a fight with a cheese grater? Yeah. That’s why I ditched the dinosaur tools for plasma. But here’s the kicker: most DIYers buy a plasma cutter… then never use it. Why? Because nobody told them how to actually use it—not just fire it up, but apply real plasma technique for clean, safe, repeatable cuts.
In this guide, you’ll learn exactly how to wield a plasma cutter for DIY projects—from choosing air pressure settings that won’t wreck your consumables, to executing curves so smooth they’d make a machinist weep. No fluff. Just hard-won lessons from someone who once melted a $200 nozzle trying to cut rusted rebar at 3 a.m. (RIP “Project Fire Pit 2.0”).
Table of Contents
- Why Plasma Cutting Fails for DIYers (Spoiler: It’s Not the Tool)
- Step-by-Step DIY Plasma Cutting Technique
- 5 Pro Tips to Avoid Jagged, Messy Cuts
- Real DIY Project Case Study: Garden Art from Scrap Metal
- Plasma Cutting FAQs
Key Takeaways
- Plasma cutters aren’t “point and zap”—technique matters more than amperage.
- Travel speed and standoff distance are the #1 causes of dross and beveled edges in DIY cuts.
- Air quality (dry, oil-free) is non-negotiable—moisture destroys consumables fast.
- Use drag cutting for thin metal (<1/4″); maintain standoff for thicker stock.
- Always pre-clean your workpiece—rust and paint cause erratic arcs and poor cut quality.
Why Plasma Cutting Fails for DIYers (Spoiler: It’s Not the Tool)
You bought a Hypertherm Powermax 45 XP—or maybe a budget-friendly ARC80 from Harbor Freight. You watched three YouTube tutorials. You even wore gloves (hero move). So why does your cut look like a toddler scribbled with a blowtorch?
The truth? Most beginners misunderstand the physics of plasma cutting. It’s not about raw power—it’s about precision control. The arc temperature hits ~40,000°F (hotter than the sun’s surface!), but if your torch moves too slow, you get excessive dross (that gloppy slag underneath). Too fast? You get incomplete cuts or beveled edges. And if your compressed air isn’t dry? Say goodbye to your electrode after two cuts.
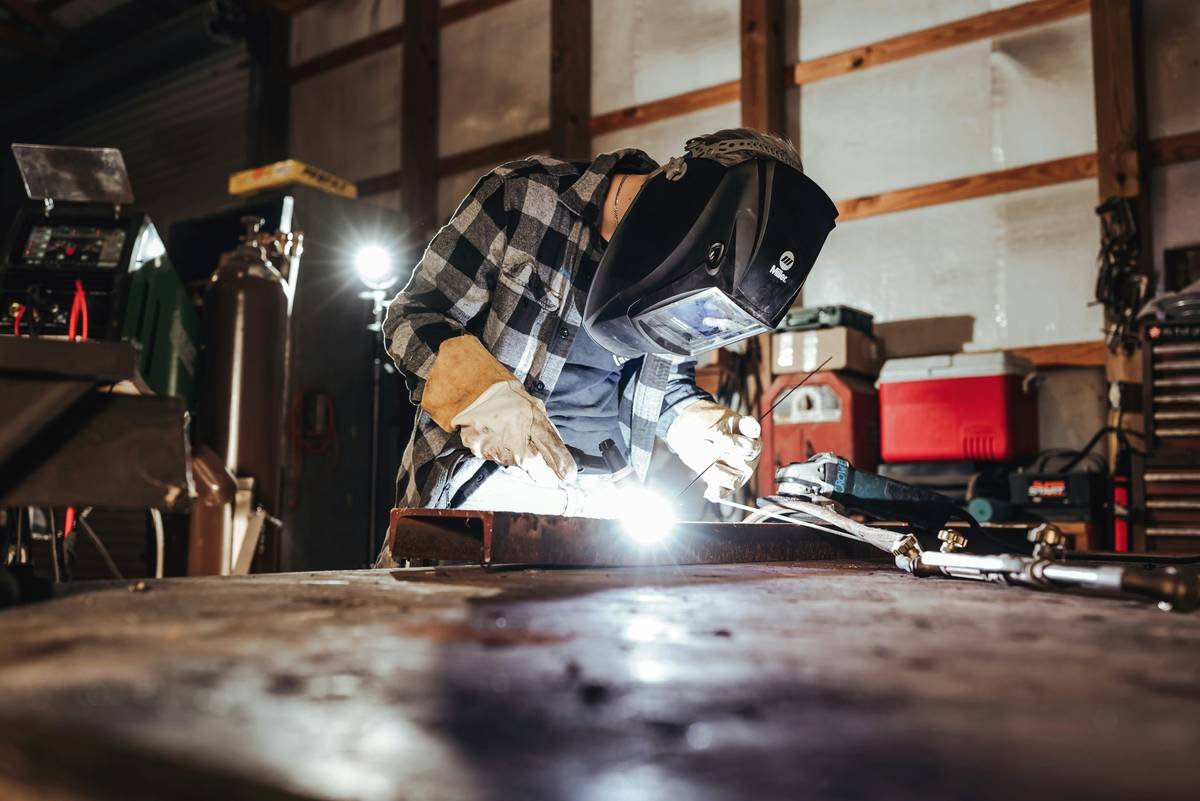
According to the Fabricators & Manufacturers Association (FMA), 68% of beginner plasma issues stem from improper air prep or inconsistent torch handling—not equipment failure. Translation: your technique is the bottleneck.
Step-by-Step DIY Plasma Cutting Technique
How do I set up my plasma cutter for success?
Optimist You: “Just plug it in and go!”
Grumpy You: “Ugh, fine—but only after you check your air filter AND drain your tank.”
- Dry, clean air is mandatory. Use a refrigerated or desiccant air dryer. Moisture = rapid consumable wear. I learned this when my local compressor shop charged me $75 to rebuild my nozzle after one rainy-weekend session.
- Set amperage correctly. Rule: 1 amp per 0.001” of thickness. For 1/4” steel, use 25 amps. Over-amping burns holes; under-amping drags the arc.
- Pierce safely. Never pierce vertically—tilt the torch 15° to let molten metal eject sideways. Vertical piercing cracks tips.
What’s the right way to move the torch?
For metal under 1/4″: drag cutting is your friend. Rest the shield on the workpiece—it maintains perfect standoff automatically. For thicker metal (>1/4″), hold a consistent 1/8” gap. Use a guide jig or straight edge taped down.
Your travel speed should sound like steady bacon sizzling—not a motorcycle revving (too fast) or a dying lawnmower (too slow). Listen to it. Yes, listen.
How do I cut curves without melting the inside radius?
Slow down—but not too much. The trick? Lead with the torch angle slightly into the curve. Imagine you’re steering a shopping cart: tilt the front wheels where you want to go. Also, use a smaller nozzle orifice for tighter radii (e.g., 45-amp tip instead of 65-amp).
5 Pro Tips to Avoid Jagged, Messy Cuts
- Prep the metal. Grind off rust, paint, or mill scale within 1” of the cut line. Contaminants disrupt the arc path.
- Ground clamp placement matters. Attach it as close as possible to the cut zone on clean, bare metal. Poor grounding causes erratic arcs.
- Change consumables early. If you see double-arcing or increased dross, swap the nozzle/electrode. Waiting costs more in ruined material.
- Work in good lighting. Plasma glare masks the actual kerf. Wear shade #8 safety glasses—not just sunglasses!
- Cut from top to bottom on vertical pieces. Gravity helps eject dross downward, reducing reattachment.
Terrible Tip Disclaimer: “Just crank the amps to max—it’ll cut faster!” Nope. Over-amperage melts edges, blows out nozzles, and warps thin metal. It’s like using a firehose to water a succulent.
Real DIY Project Case Study: Garden Art from Scrap Metal
Last summer, I built a kinetic wind sculpture from salvaged 3/16” steel plate. Goal: clean, intricate cuts with minimal grinding.
The Setup:
– Machine: Eastwood Versa-Cut 60
– Material: 3/16” A36 steel (lightly rusted)
– Consumables: Genuine Hypertherm FineCut nozzle
– Air: 90 PSI, filtered through coalescing + desiccant dryer
The Process:
1. Sandblasted rust along planned cut lines.
2. Used a paper template glued with spray adhesive.
3. Drag-cut at 40 amps with steady 12 IPM (inches per minute) travel.
4. Pierced at 15° angle, then transitioned to flat drag.
The Result: Near-laser-edge quality with zero post-grinding on straight sections. Curves needed light filing—but that’s expected. Total project time: 4 hours (including design). Without proper plasma technique? I’d still be deburring.
Plasma Cutting FAQs
Can I use a plasma cutter on stainless steel or aluminum?
Yes! But you’ll need higher air pressure (90–120 PSI) and slightly faster travel speeds. Stainless requires nitrogen or argon-hydrogen mix for best results—but for DIY, clean compressed air works fine for cuts under 1/2”.
Do I need a CNC table for good cuts?
Absolutely not. Hand-guided cuts can be precise with practice. Use clamped straight edges or circle guides. Save CNC for production runs.
Why does my cut have a bevel?
Usually caused by slow travel speed or worn nozzle. The arc lags behind, melting more on the exit side. Speed up and inspect consumables.
Is plasma better than oxy-fuel for DIY?
For steel under 1”, yes—faster, cleaner, and no preheat needed. Oxy-fuel wins for very thick sections (>2”) or cast iron, which plasma can’t cut.
Conclusion
Mastering diy project plasma technique how to isn’t about buying the most expensive machine—it’s about respecting the process. Control your speed, clean your air, prep your metal, and listen to what the arc tells you. Do that, and you’ll turn scrap into sculpture without cursing your neighbors awake at midnight.
Now go melt some metal—responsibly.
Like a Tamagotchi, your plasma cutter needs daily attention. Feed it dry air. Clean its contacts. Love it.