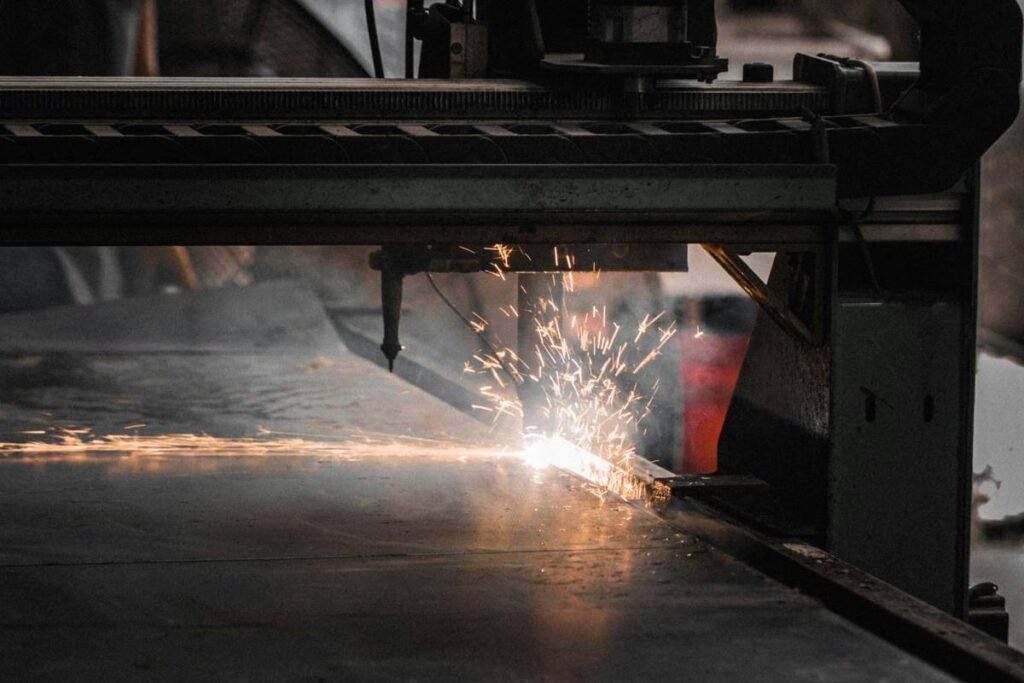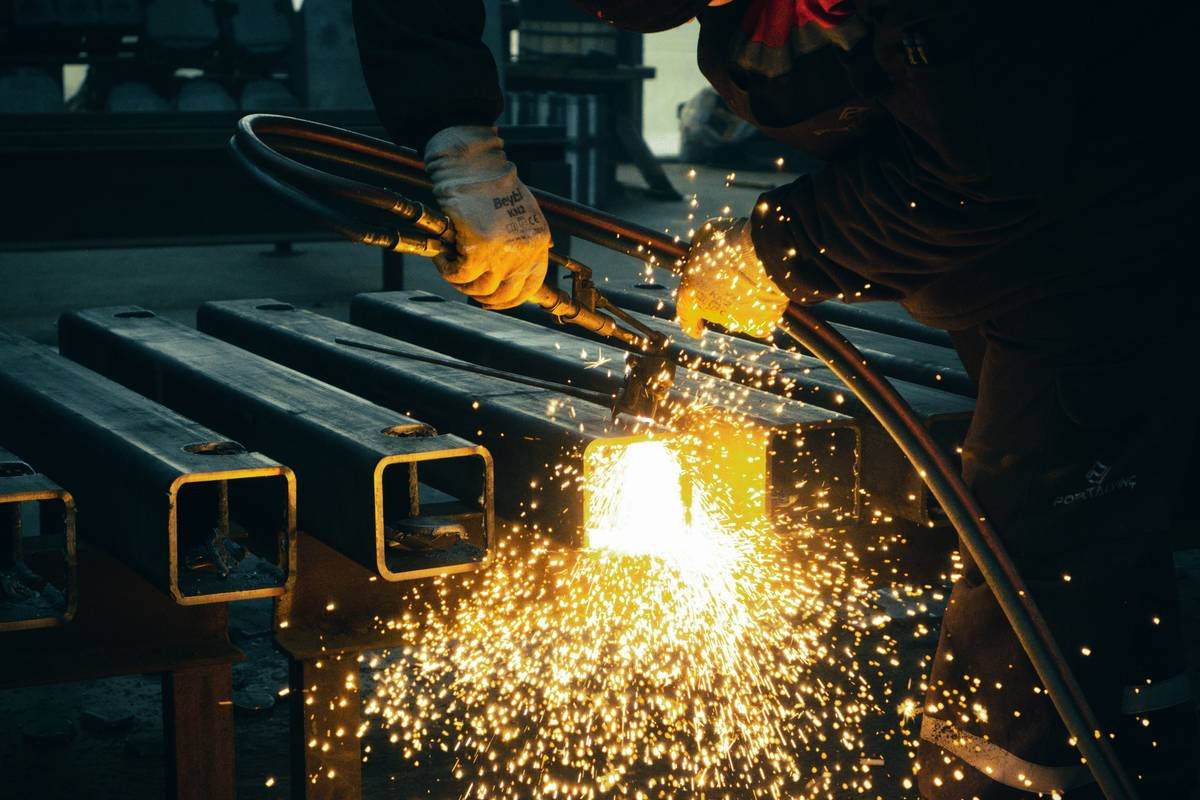
Ever fired up a plasma cutter only to end up with a jagged, smoking mess that looks more like modern art than a clean cut? Yeah—I’ve been there. Last summer, I tried slicing a 3/8″ steel plate for a backyard smoker build. Wrong amperage. Wrong speed. Wrong gloves (don’t ask). Result? A warped hunk of metal and eyebrows singed enough to make me look permanently surprised.
If you’re new to plasma cutting—or just tired of wasting metal and time—this guide is your rescue mission. We’ll walk through exactly how to use a plasma cutter safely and effectively, whether you’re restoring a classic car frame or fashioning garden trellises from scrap. You’ll learn:
- How to prep metal like a pro (rust = enemy #1)
- The 5-step firing sequence that avoids “Oops-I-melted-it” moments
- Why drag vs. standoff cutting changes everything
- Real-world mistakes (and how to avoid them)
Table of Contents
- Why Plasma Cutting Matters (And Why Most Beginners Fail)
- Plasma Cutter How to Use: Your 5-Step Safety-to-Clean-Cut Workflow
- 7 Pro Tips That Separate Hobbyists From Fabricators
- Case Study: Restoring a 1967 Camaro Subframe Without Ruining History
- FAQs: Your Burning Questions—Answered
Key Takeaways
- Always clean metal thoroughly before cutting—oil, paint, and rust cause arc instability.
- Match amperage to material thickness: 20A for ⅛”, 40A for ¼”, etc. (per Hypertherm’s guidelines).
- Use a drag tip for thin metals (< 1″); switch to standoff for thicker cuts.
- Never cut galvanized steel without proper ventilation—it releases toxic zinc oxide fumes.
- Wear ANSI Z87.1-rated safety glasses + leather gloves rated for sparks (not just “work gloves”).
Why Plasma Cutting Matters (And Why Most Beginners Fail)
Plasma cutters aren’t just for industrial shops anymore. With machines like the Harbor Freight Predator ($219) or Lincoln Electric Tomahawk 625 ($1,200), DIYers can achieve near-laser precision on conductive metals—steel, stainless, aluminum—at speeds hand tools can’t touch. According to the Fabricators & Manufacturers Association (FMA), over 68% of small fabrication shops now use CNC or handheld plasma systems for rapid prototyping.
But here’s the catch: plasma cutting looks effortless in YouTube demos. In reality? It’s physics-heavy, unforgiving, and demands respect. Get the settings wrong, and you’ll gouge your workpiece, blow out consumables in minutes, or—worst case—injure yourself. The #1 mistake I see? Skipping surface prep. Grease, mill scale, or even moisture disrupts the electrical arc, causing erratic cuts and premature nozzle wear.
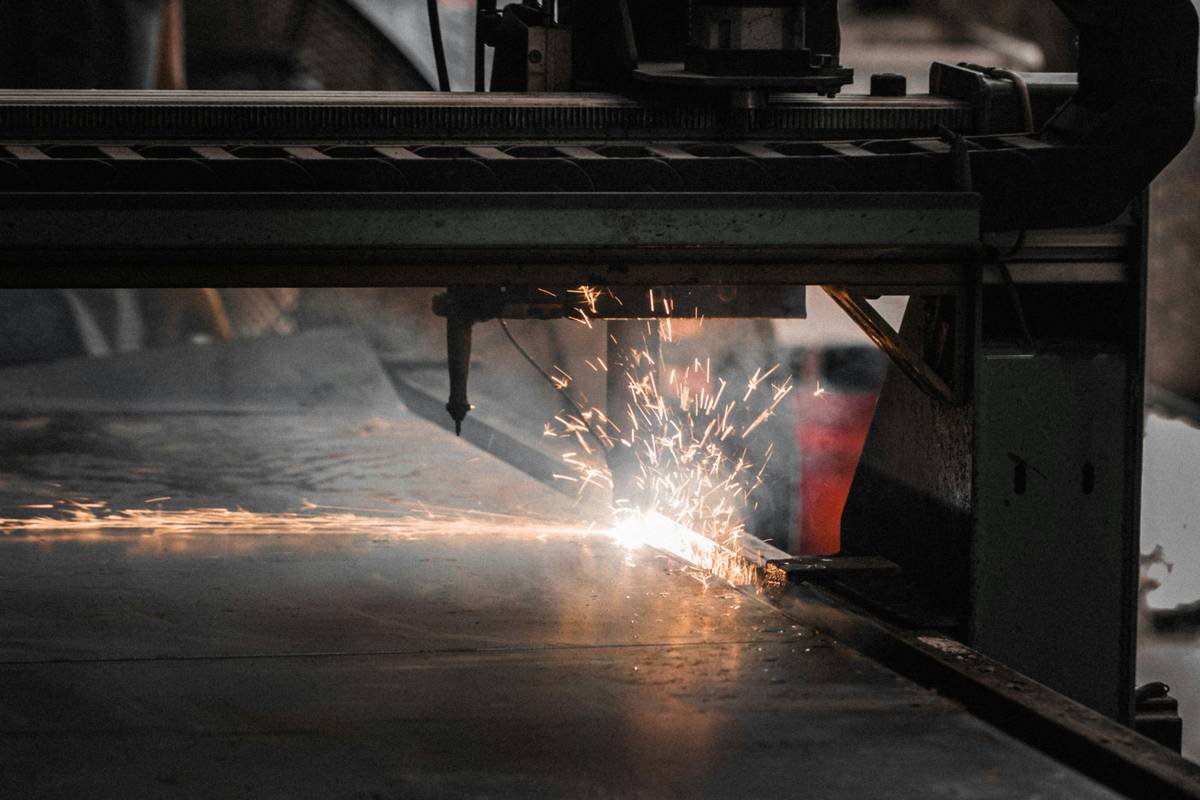
Optimist You: “Just hook it up and zap!”
Grumpy You: “Ugh, fine—but only if I get to rant about people cutting painted steel indoors.”
Plasma Cutter How to Use: Your 5-Step Safety-to-Clean-Cut Workflow
Step 1: Gear Up Like Your Eyebrows Depend On It (They Do)
Before plugging in, suit up:
– Auto-darkening helmet (Shade #8 minimum)
– Flame-resistant jacket (no synthetics!)
– Leather gloves (cowhide or goatskin)
– Respirator if cutting coated metals
Per OSHA Standard 1910.252, eye protection is non-negotiable—plasma arcs emit UV radiation that can cause “arc eye” within seconds.
Step 2: Prep the Metal—Not Optional, Not Ever
Scrub surfaces with a wire brush or grinder until shiny. Remove oil with acetone. For rusty scrap? A quick pass with a flap disc saves consumables. Remember: plasma requires electrical conductivity. Paint, rust, or corrosion = resistance = unstable arc.
Step 3: Set Amperage Based on Thickness (Not Guesswork)
Check your manual, but as a rule:
– 20A → cuts ⅛” mild steel cleanly
– 40A → handles ¼”
– 60A+ → for ½” and beyond
Using too high amperage melts edges; too low causes dross buildup. When in doubt, start lower and increase.
Step 4: Choose Drag or Standoff Mode
Drag cutting: Rest the tip directly on metal. Ideal for thin sheets (< 1″). Faster, easier for beginners.
Standoff cutting: Hold torch ⅛”–¼” above surface using a guide. Better for thick metal—prevents tip clogging and extends nozzle life.
Step 5: Cut With Controlled Motion—Not Speed
Move at a consistent pace. Too slow = melted edges. Too fast = incomplete cut. Listen to the sound: a steady “hiss” means you’re golden. A sputtering “crackle”? You’re dragging or going too slow. Practice on scrap first!
7 Pro Tips That Separate Hobbysets From Fabricators
- Use compressed air dryers: Moisture in air lines ruins cuts and corrodes internals. Install an inline filter/dryer (even $20 ones help).
- Replace consumables early: Worn nozzles or electrodes cause wandering arcs. Swap after 1–2 hours of heavy use.
- Ground clamp matters: Attach it directly to the workpiece—not the table. Poor grounding = erratic starts.
- Cut from edge inward: Starting mid-sheet risks double-arcing and damaging the torch.
- Angle the torch slightly: Tilt 5–10° in direction of travel for smoother exits.
- Never cut galvanized or lead-painted metal indoors: Zinc oxide fumes cause “metal fume fever”—real, dangerous, and preventable.
- Let the machine rest: Duty cycle isn’t a suggestion. A 60% duty cycle at 40A means 6 minutes on, 4 off. Overheating kills electronics.
BRUTAL HONESTY TIME: Here’s a terrible tip I once heard: “Just hold down the trigger—speed doesn’t matter.” Nope. That’s how you turn $50 of steel into abstract junk.
Case Study: Restoring a 1967 Camaro Subframe Without Ruining History
Last fall, my buddy Mike needed to remove rusted rear perches from a classic Camaro subframe. Original parts were irreplaceable—so precision was key. We used a Hypertherm Powermax 45 XP (45A output) with drag shield consumables.
Our process:
– Degreased area with Simple Green
– Set amperage to 35A (for 3/16″ steel)
– Used drag tip, moving at ~15 IPM
– Clamped ground directly to subframe
Result? Clean cuts with minimal heat distortion. Mike welded new perches back in under two hours—without warping the vintage frame. Total time saved vs. oxy-acetylene: 3+ hours. Plus, no flame = no fire risk in his garage-turned-shop.
This isn’t theoretical. It’s what happens when you respect the tool—and the metal.
FAQs: Your Burning Questions—Answered
Can I use a plasma cutter on stainless steel or aluminum?
Yes! Plasma cuts any electrically conductive metal. Just ensure your air supply is clean—contaminants cause oxidation on stainless.
Do I need special air compressors?
You need dry, oil-free air at 90–120 PSI. Many home units work, but add a filter. Check manufacturer specs—some light-duty cutters use shop air; others require dedicated compressors.
Why does my cut have dross (slag) on the bottom?
Dross forms from slow travel speed, low amperage, or worn consumables. Increase speed slightly or bump amperage by 5–10A.
Is plasma cutting safe indoors?
Only with serious ventilation. Fumes contain ozone, NOx, and metal particulates. Use a fume extractor or cut outdoors. Never skip the respirator.
How long do consumables last?
Depends on usage, but typically:
– Nozzles: 1–2 hours of cutting time
– Electrodes: 2–4 hours
Store spares dry—they absorb moisture from air.
Conclusion
Knowing how to use a plasma cutter isn’t about brute force—it’s about finesse, preparation, and respecting the science behind that 25,000°F arc. Start clean, set correctly, move steadily, and protect yourself. Do that, and you’ll slice through steel like butter, not chaos.
Go practice on scrap. Burn through a few cheap plates. Get comfortable with the sound, the spark shower, the smell of hot metal. Then—go build something awesome.
Like a 2000s flip phone, plasma cutting is retro-cool but demands real skill. No autocorrect for melted edges.