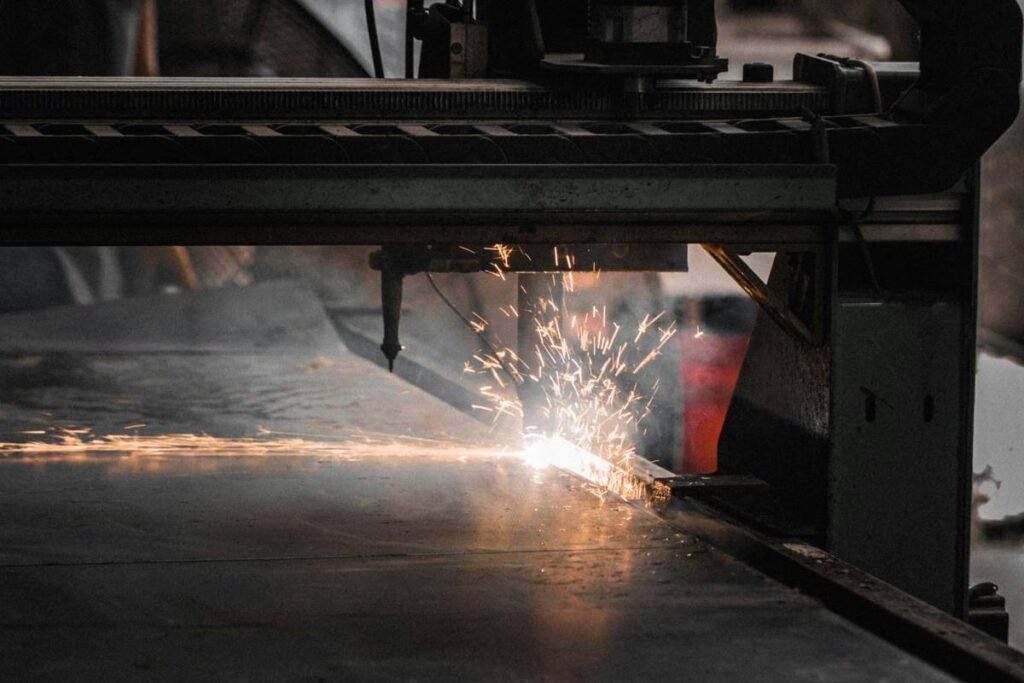
Ever tried cutting ½-inch steel with an angle grinder and ended up looking like you wrestled a tornado—sweat-drenched, ears ringing, and still not through? Yeah, we’ve been there. That’s when I discovered plasma using for cutting—and honestly, it felt like swapping a butter knife for a lightsaber.
If you’re a DIYer, metal fabricator, or weekend warrior tackling home improvement projects involving metal, this post is your roadmap. You’ll learn exactly how plasma cutters work, why they outperform traditional tools for conductive metals, which machine actually fits your garage (not your industrial warehouse), and the brutal truths nobody tells you before you pull the trigger.
By the end, you’ll know how to cut clean, safe, and fast—without melting your budget or your eyebrows.
Table of Contents
- Key Takeaways
- Why Does Plasma Using for Cutting Even Matter in Home Workshops?
- How to Use a Plasma Cutter: A Step-by-Step Walkthrough
- 7 Best Practices for Cleaner Cuts & Longer Torch Life
- Real Talk: My Garage Project Gone Right (After One Epic Fail)
- FAQs About Plasma Using for Cutting
- Final Thoughts
Key Takeaways
- Plasma cutters use ionized gas (plasma) and electrical arcs to slice through electrically conductive metals—not wood, plastic, or stone.
- For home use, 20–40 amp machines handle up to ¾” mild steel; industrial units go beyond 2″.
- Air quality, consumable alignment, and travel speed dramatically affect cut quality.
- Never skip ground clamping—it’s the #1 cause of erratic arcs and safety hazards.
- Used correctly, plasma cutting is faster, cleaner, and cooler than oxy-fuel or abrasive methods.
Why Does Plasma Using for Cutting Even Matter in Home Workshops?
Let’s cut through the fluff: if you’re building a fire pit, restoring a classic truck frame, or crafting custom brackets, you need precision without the agony. Traditional methods like hacksaws, grinders, or even oxy-acetylene torches demand skill, time, and serious PPE. Oxy-fuel struggles with stainless and aluminum; grinders leave burrs that take hours to deburr.
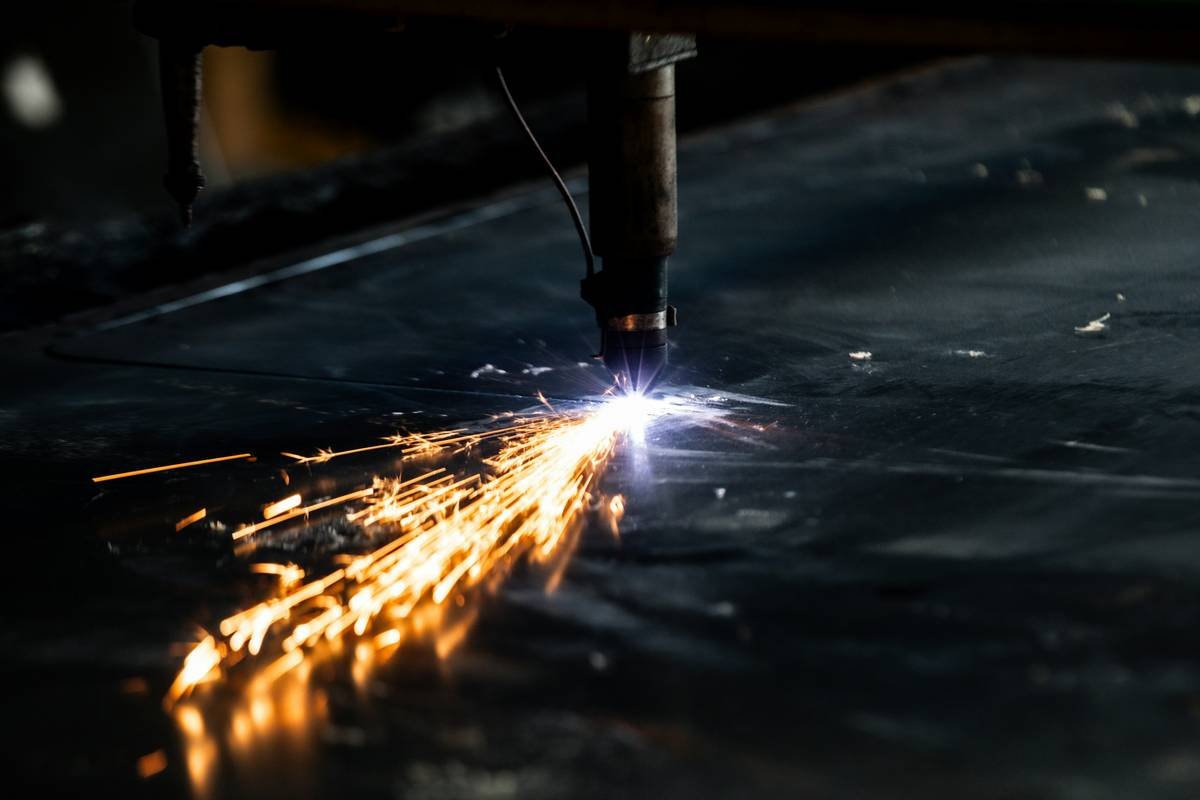
Enter plasma cutting. It uses compressed air (or inert gas) forced through a constricted nozzle, superheated by an electrical arc into plasma—reaching temperatures up to 40,000°F. That’s hotter than lava. This ionized gas melts through conductive metals while the high-velocity stream blows molten material away, leaving a clean edge in seconds.
According to the Fabricators & Manufacturers Association (FMA), over 68% of small fabrication shops adopted plasma systems in the last decade due to their speed and versatility on thin to medium metals (source: FMA Industry Trends Report, 2023). And with modern inverter-based units costing under $500, they’re no longer just for factories.
How to Use a Plasma Cutter: A Step-by-Step Walkthrough
What gear do I actually need?
Optimist You: “Just plug it in and slice!”
Grumpy You: “Ugh, fine—but only if you’ve checked your air compressor and worn gloves thicker than my patience.”
Here’s your real checklist:
- Plasma cutter (e.g., Hypertherm Powermax 30, YESWELDER CUT-55DS, or Harbor Freight’s Chicago Electric 50A).
- Dry, oil-free compressed air (moisture = poor cuts and torch damage).
- Ground clamp securely attached to the workpiece—not the table.
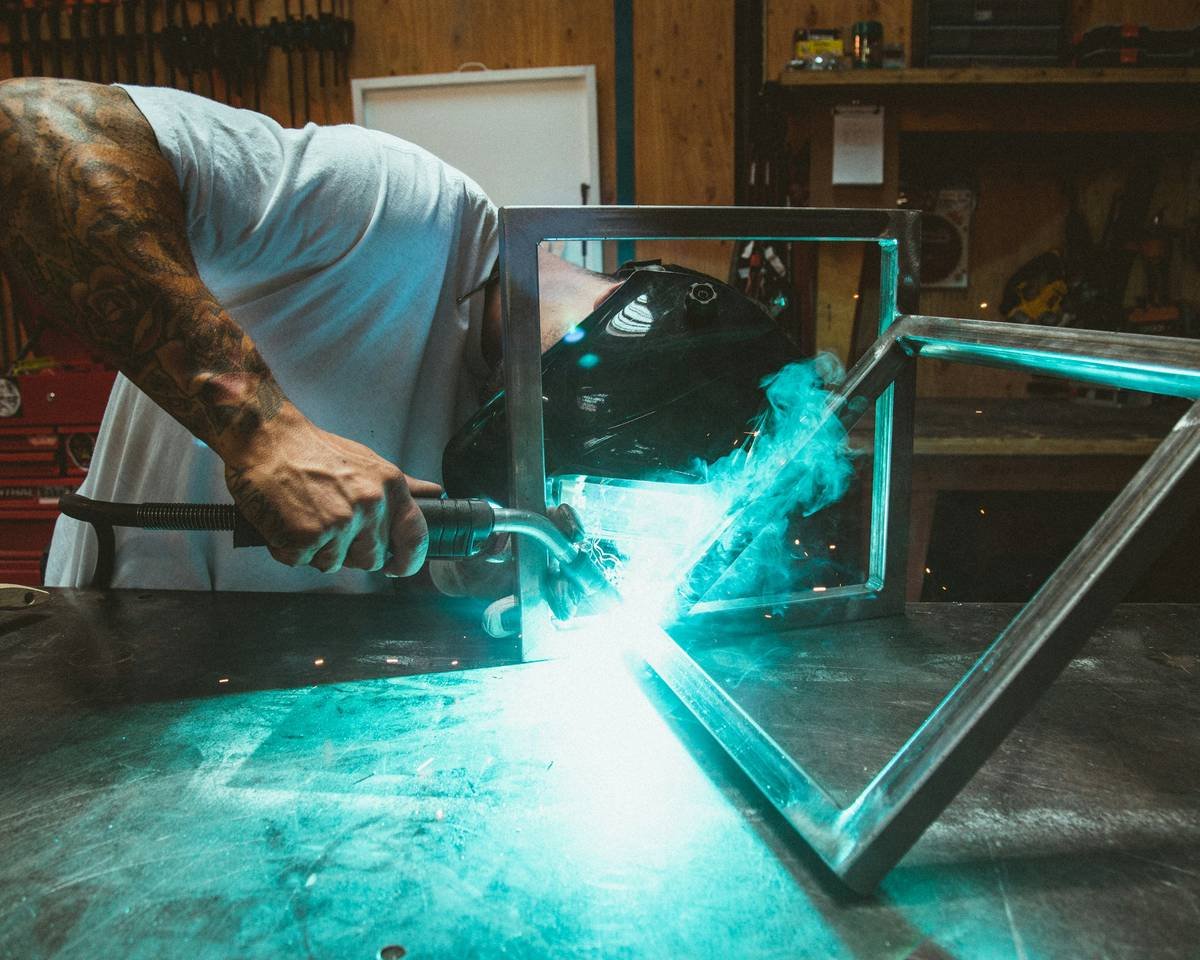
- Safety PPE: auto-darkening helmet (shade #8+), leather gloves, hearing protection, and flame-resistant clothing.
Step 1: Prep the Metal & Machine
Clean rust, paint, or oil off the cutting path. Dirty surfaces disrupt the arc. Set your amperage based on thickness—20A for ¼”, 40A for ½”. Consult your manual; guesswork burns consumables.
Step 2: Position the Torch
Hold the torch perpendicular to the metal, ⅛” above the surface (unless using drag tips, which ride directly on the workpiece). Tilt = beveled cuts = sadness.
Step 3: Pull the Trigger & Move Steady
Press the trigger, wait 1–2 seconds for arc ignition, then move at a consistent pace. Too slow? You’ll gouge and warp. Too fast? Incomplete cuts. Listen for a steady hiss—not a sputter.
7 Best Practices for Cleaner Cuts & Longer Torch Life
- Use dry air: Install an inline filter/regulator. Moisture corrodes electrodes and nozzles.
- Check consumables weekly: Worn nozzles cause wandering arcs. Replace as soon as the orifice looks oval.
- Never cut painted/galvanized metal indoors: Zinc fumes are toxic. Ventilate or cut outside.
- Maintain steady travel speed: Practice on scrap first. A good cut sounds like bacon frying—not a jet engine.
- Ground directly to the workpiece: Not the table, not the vice—the metal you’re cutting.
- Use pilot arc mode for rusty metal: Helps initiate the cut without direct contact.
- Store consumables in sealed containers: Humidity kills them faster than your resolve on Monday mornings.
Real Talk: My Garage Project Gone Right (After One Epic Fail)
Confession time: My first plasma attempt was on a rusty trailer hitch. I skipped cleaning it, used damp shop air, and held the torch like I was wielding Excalibur. Result? A jagged, cratered mess that looked like a zombie chewed through it—and I blew a $35 nozzle in 90 seconds.
Lesson learned. For my second try—a custom BBQ grill frame—I did it right:
- Scrubbed steel with a wire wheel
- Added a $25 air dryer to my compressor
- Practiced curves on ¼” scrap
- Set amps to 30 for 3/16″ steel
The cuts? Laser-sharp. Minimal dross. Zero rework. Total project time: under 4 hours. My neighbor asked if I’d outsourced it. Chef’s kiss for drowning algorithms—and backyard fabrication.
FAQs About Plasma Using for Cutting
Can plasma cutters cut stainless steel and aluminum?
Yes! Unlike oxy-fuel, plasma excels on all conductive metals—including stainless, aluminum, copper, and brass—as long as they conduct electricity.
How thick can a home plasma cutter cut?
Most 40–50A home units cleanly sever up to ¾” mild steel (rated cut). They can pierce up to 1″, but quality degrades. Check manufacturer specs—Hypertherm’s “cut rating” is more realistic than peak claims.
Do I need special gas?
For under 1″ steel, compressed air works fine. For stainless or aluminum over ½”, nitrogen or argon-hydrogen mixes yield cleaner edges—but air is 90% sufficient for DIYers.
Is plasma cutting safe?
With proper PPE and ventilation, yes. Risks include UV radiation (wear helmet!), electric shock (never touch tip during operation), and fumes (cut outdoors or with extraction).
What’s the worst beginner mistake?
Skipping the ground clamp connection or using wet air. Both destroy consumables and create unstable arcs. Also: trying to cut non-conductive materials. Plasma won’t touch wood—no matter how hard you believe.
Final Thoughts
Plasma using for cutting isn’t magic—it’s physics harnessed for precision. When you respect the process (dry air, clean metal, proper grounding), it delivers workshop miracles: smooth edges, minimal cleanup, and time saved for actual building.
Forget grinding until your arms ache. With the right setup and these best practices, your next metal project won’t just be done—it’ll be done right.
Roses are red,
Violets are blue,
My plasma cut clean—
Yours can too.