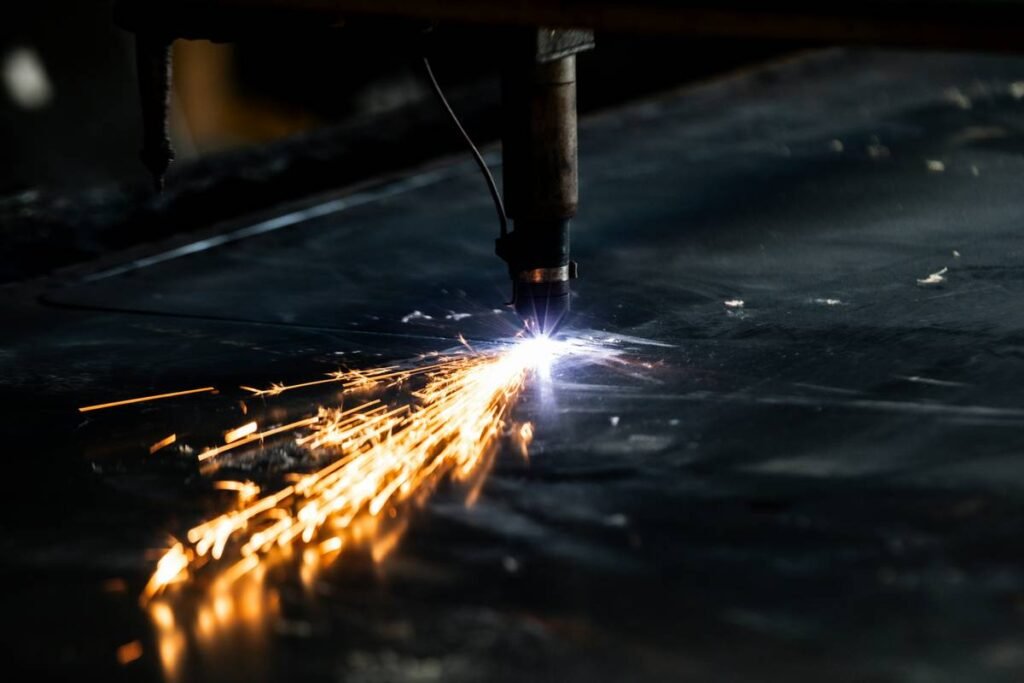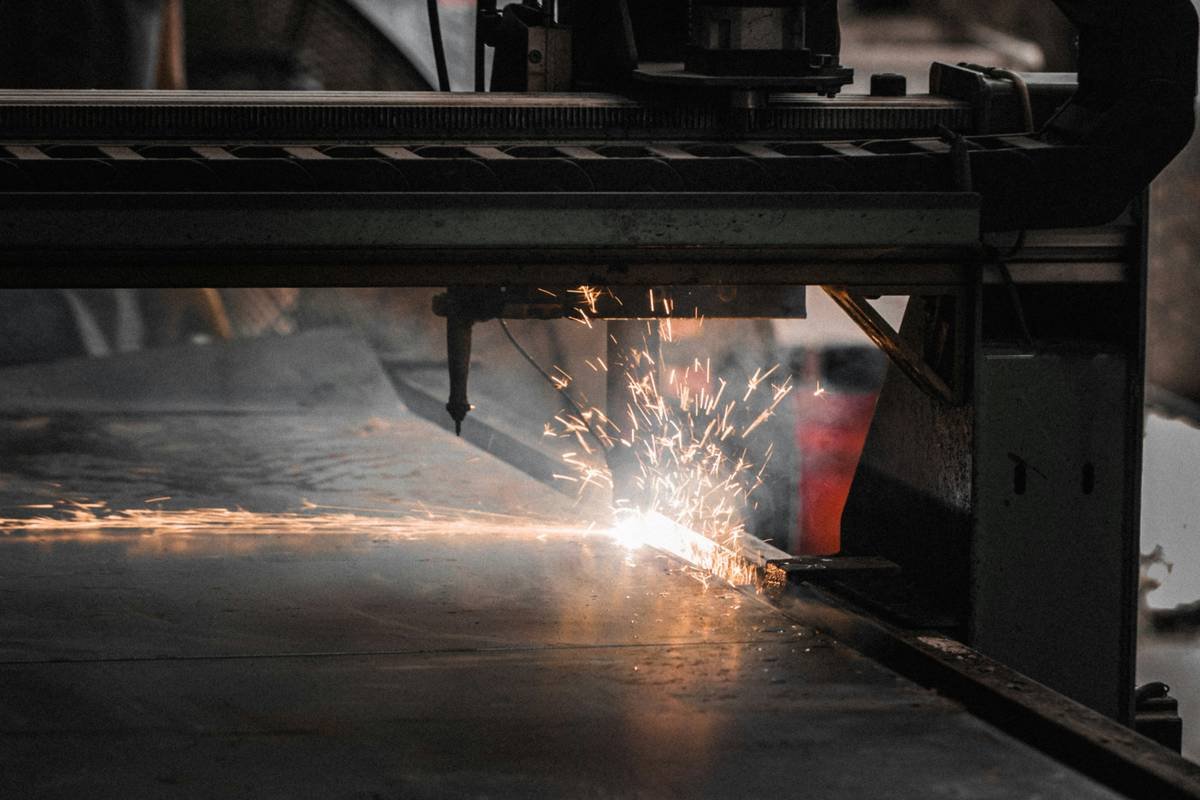
Ever tried cutting through ½-inch steel with an angle grinder and ended up sweating more than a sauna, covered in sparks, and wondering if you should just torch the whole project? Yeah, me too. I once spent ninety minutes on a simple bracket cut—only for it to warp beyond recognition. Spoiler: I didn’t finish that job until I learned how to plasma cut.
This guide isn’t fluff. It’s forged in real sparks, burned gloves, and that weird ozone smell your shop always carries afterward. Whether you’re a weekend warrior building a trailer hitch or a metal fabricator scaling production, you’ll learn exactly how to set up, operate, and master a plasma cutter—safely, efficiently, and without melting your workbench into modern art.
You’ll walk away knowing:
- Which plasma cutter actually suits your needs (spoiler: not all “20-amp” models are equal)
- The 5-step process to achieve clean, dross-free cuts—even on rusty metal
- Real-world tips most YouTube tutorials skip (like why your air pressure might be sabotaging you)
- Mistakes that waste time, ruin material, or worse—risk safety
Table of Contents
- Why Plasma Cutting Beats Traditional Methods
- Step-by-Step: How to Plasma Cut Like a Pro
- 7 Best Practices for Cleaner, Faster Cuts
- Real-World Case Study: From Garage to Professional Shop
- Frequently Asked Questions About Plasma Cutting
Key Takeaways
- Plasma cutting uses ionized gas (plasma) to melt and blow away metal—ideal for conductive materials like steel, stainless, and aluminum.
- Amperage determines cutting capacity: 20A ≈ ⅜”, 40A ≈ ¾”, 80A+ for industrial use.
- Clean, dry compressed air is non-negotiable—moisture causes erratic arcs and tip damage.
- Drag cutting (dragging the tip) works for thin metal; stand-off cutting (with guide) is better for precision.
- Always wear proper PPE: auto-darkening helmet (shade #8+), flame-resistant clothing, hearing protection.
Why Plasma Cutting Beats Traditional Methods
If you’ve ever wrestled with reciprocating saws, oxy-fuel torches, or abrasive wheels, you know metal cutting can feel like medieval punishment. Plasma cutters changed the game—and not just for factories. According to the Fabricators & Manufacturers Association (FMA), over 68% of small to mid-sized metal shops now use CNC or handheld plasma systems for speed and precision.
I switched after burning through three cutoff wheels trying to slice a corroded farm gate hinge. The grinder kicked back so hard I nearly kissed concrete. Plasma? Clean cut in 12 seconds. No warping. No fatigue. Just smooth edges ready for a quick grind.
Unlike oxy-fuel, plasma doesn’t require preheating or fuel gases. It works on any electrically conductive metal—including rusted or painted steel (within limits). And compared to lasers? Way more affordable for under $1,500.
Step-by-Step: How to Plasma Cut Like a Pro
What gear do I actually need?
Optimist You: “Just grab a plasma cutter and go!”
Grumpy You: “Ugh, fine—but only if you promise not to skip safety or dry your damn air.”
Here’s your non-negotiable kit:
- Plasma cutter (e.g., Hypertherm Powermax 30XP, Miller Spectrum 625, or budget-friendly Avid CNC 40A)
- Compressor with air dryer/filtration (CFM rating must match torch requirements)
- Ground clamp – clean metal contact is critical
- PPE: Auto-darkening helmet (shade #8–#10), FR jacket, gloves, ear protection
Step 1: Prepare Your Workpiece
Remove paint, rust, or oil near the cut line. Plasma can cut through light contamination, but heavy buildup causes arc instability and jagged edges. Clamp securely—vibration = ragged cuts.
Step 2: Set Up Air & Amperage
Check manufacturer specs. For a 20A machine cutting ¼” steel:
– Air pressure: 90–120 PSI at the regulator
– Amperage: 20A (don’t max it out unnecessarily)
– Tip/nozzle size: Match to amperage (e.g., 20A = standard 20A consumables)
Confessional Fail: I once skipped the air filter on a humid Florida morning. My first cut sputtered like a dying lawnmower—and blew out a $45 nozzle in 90 seconds. Lesson: moisture is the silent killer of consumables.
Step 3: Position the Torch
Two methods:
– Drag cutting: Rest the tip lightly on the metal (works for ≤⅜” material).
– Stand-off cutting: Use a standoff guide for consistent gap (better for thick or beveled cuts).
Step 4: Strike the Arc & Move Steady
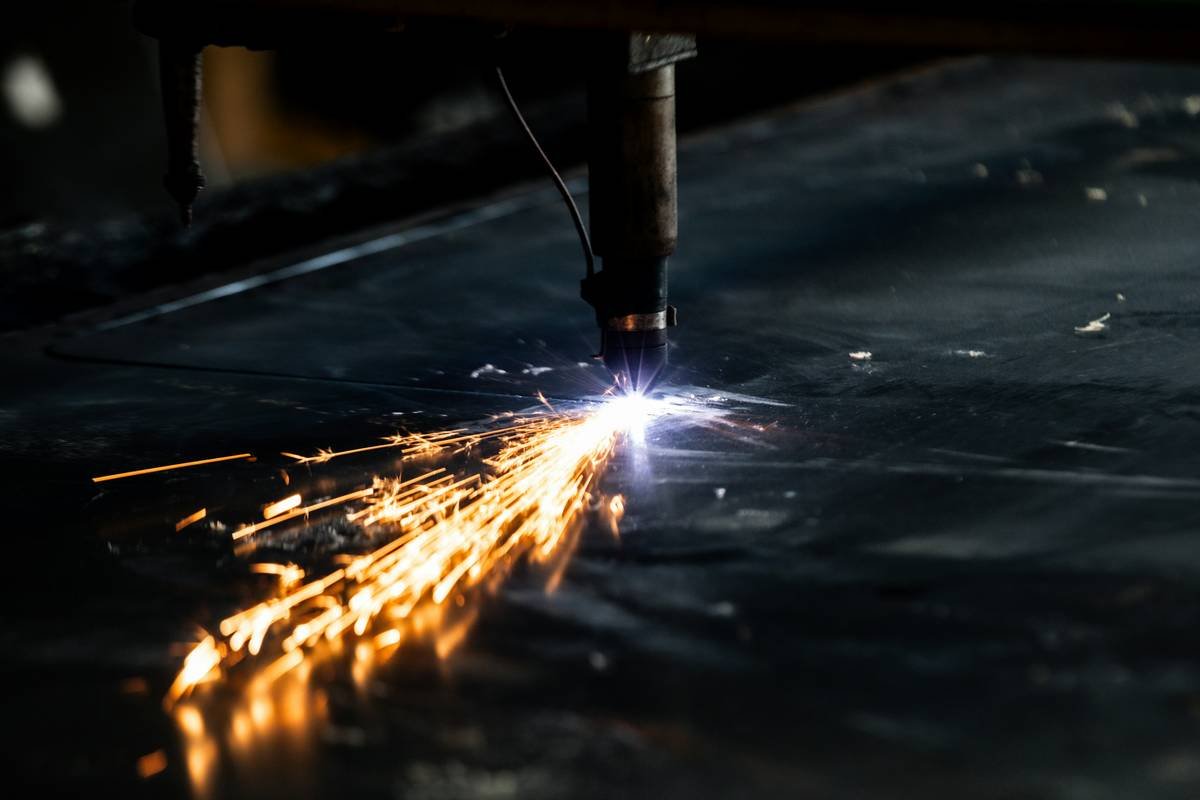
Press trigger → pilot arc ignites → main arc transfers. Move at a consistent pace. Too slow? Dross builds up underneath. Too fast? Incomplete cuts. Listen: a healthy cut sounds like a crisp hiss, not a sputtering cough.
Step 5: Inspect & Clean
Let the piece cool. Knock off minimal dross with a chipping hammer. If edges are rough, you likely had incorrect air pressure, worn consumables, or inconsistent travel speed.
7 Best Practices for Cleaner, Faster Cuts
These aren’t guesses—they’re battle-tested from 200+ hours of cutting everything from sheet metal art to structural I-beams.
- Dry your air religiously. Install a coalescing filter + desiccant dryer. Moisture = oxidized cuts + shortened consumable life.
- Replace consumables early. A worn nozzle creates a wandering arc. Pro tip: Keep a log of cut hours per set.
- Angle matters. Keep torch perpendicular (90°) unless doing bevels. Even 5° tilt causes taper.
- Start with scrap. Test settings on leftover metal before touching your good stuff.
- Use a drag shield. It protects the nozzle and maintains optimal distance on uneven surfaces.
- Mind your ground clamp. Attach it as close as possible to the cut zone—poor grounding causes erratic arcs.
- Go slower on thicker metal. Rule of thumb: ¼” steel = ~20 IPM (inches per minute); ½” = ~10 IPM.
Terrible Tip Disclaimer
“Just crank the amperage to max for faster cuts!” — NO. Over-amperage melts nozzles, increases dross, and wastes power. Match amperage to material thickness. Period.
Real-World Case Study: From Garage to Professional Shop
Meet Jake R., a former landscaper who started building custom motorcycle racks in his garage. Initially using an angle grinder, he averaged 45 minutes per rack with inconsistent results. After investing in a $1,100 Avid CNC 40A plasma system (plus air prep), his cut time dropped to 7 minutes per rack—with clean, repeatable edges.
Within 18 months, Jake scaled to a 1,200-sq-ft shop, hired two employees, and now supplies racks to five regional dealerships. His secret? “I treated my plasma like a race car—not just turn-key-and-go. I logged every cut, tracked consumable wear, and dialed in settings per material batch.”
His ROI? Achieved in under 6 months. Today, 80% of his fabrication starts with plasma.
Frequently Asked Questions About Plasma Cutting
Can I plasma cut aluminum or stainless steel?
Yes! Plasma excels on all conductive metals. Use slightly higher air pressure for stainless to prevent oxidation streaks.
Do I need a CNC table?
No—for straight lines or freehand shapes, handheld works great. CNC is for complex, repeatable patterns (e.g., signage, brackets).
How thick can a 20-amp plasma cutter cut?
Severance (rough cut): up to ⅝”. Clean cut: max ⅜”. Always check manufacturer specs; real-world performance varies.
Is plasma cutting safe indoors?
Only with proper ventilation. Plasma generates fumes (especially on galvanized or coated metals) and intense UV. Use an exhaust fan or respirator with P100 filters.
Why does my cut have a lot of dross?
Common causes: low air pressure, worn consumables, too-slow travel speed, or incorrect amperage. Start by checking air quality and nozzle condition.
Conclusion
Learning how to plasma cut isn’t about buying expensive gear—it’s about understanding the dance between amperage, air, and motion. Done right, you’ll cut cleaner, faster, and safer than ever before. Done wrong? You’ll melt tips, curse physics, and maybe weld your shirt to the bench (true story).
Start small. Respect the arc. Log your settings. And never skip the air filtration—your future self (and your wallet) will thank you.
Now go make some sparks.
Like a Tamagotchi, your plasma cutter needs daily care—except this one bites back if you ignore it.
Steel sings in plasma light,
Clean edge, sharp and bright.
Don’t rush the arc—patience wins the fight.